How to Transcribe Video to Text
Updated April 12, 2026
Summary
Doc2Lang lets you transcribe both video and audio files — including MP4, MOV, MP3, WAV, and more — into time-aligned subtitle files. Whether you're working with a video clip, a podcast episode, or a recorded interview, Doc2Lang automatically converts speech into text while preserving the original language. This makes it easy to review dialogue, create subtitles, and prepare content for later translation.
This guide walks you through transcribing a video or audio file to text using Doc2Lang's Transcribe feature, with a sample clip from Blender Studio's Sprite Fright as an example.
Open the Transcribe page
Go to Doc2Lang Transcribe to start a new transcription task.
You'll see an upload area where you can add an audio or video file for transcription. Supported formats include:
- Audio: MP3, WAV, M4A, FLAC
- Video: MP4, MOV, MKV, WebM, and more
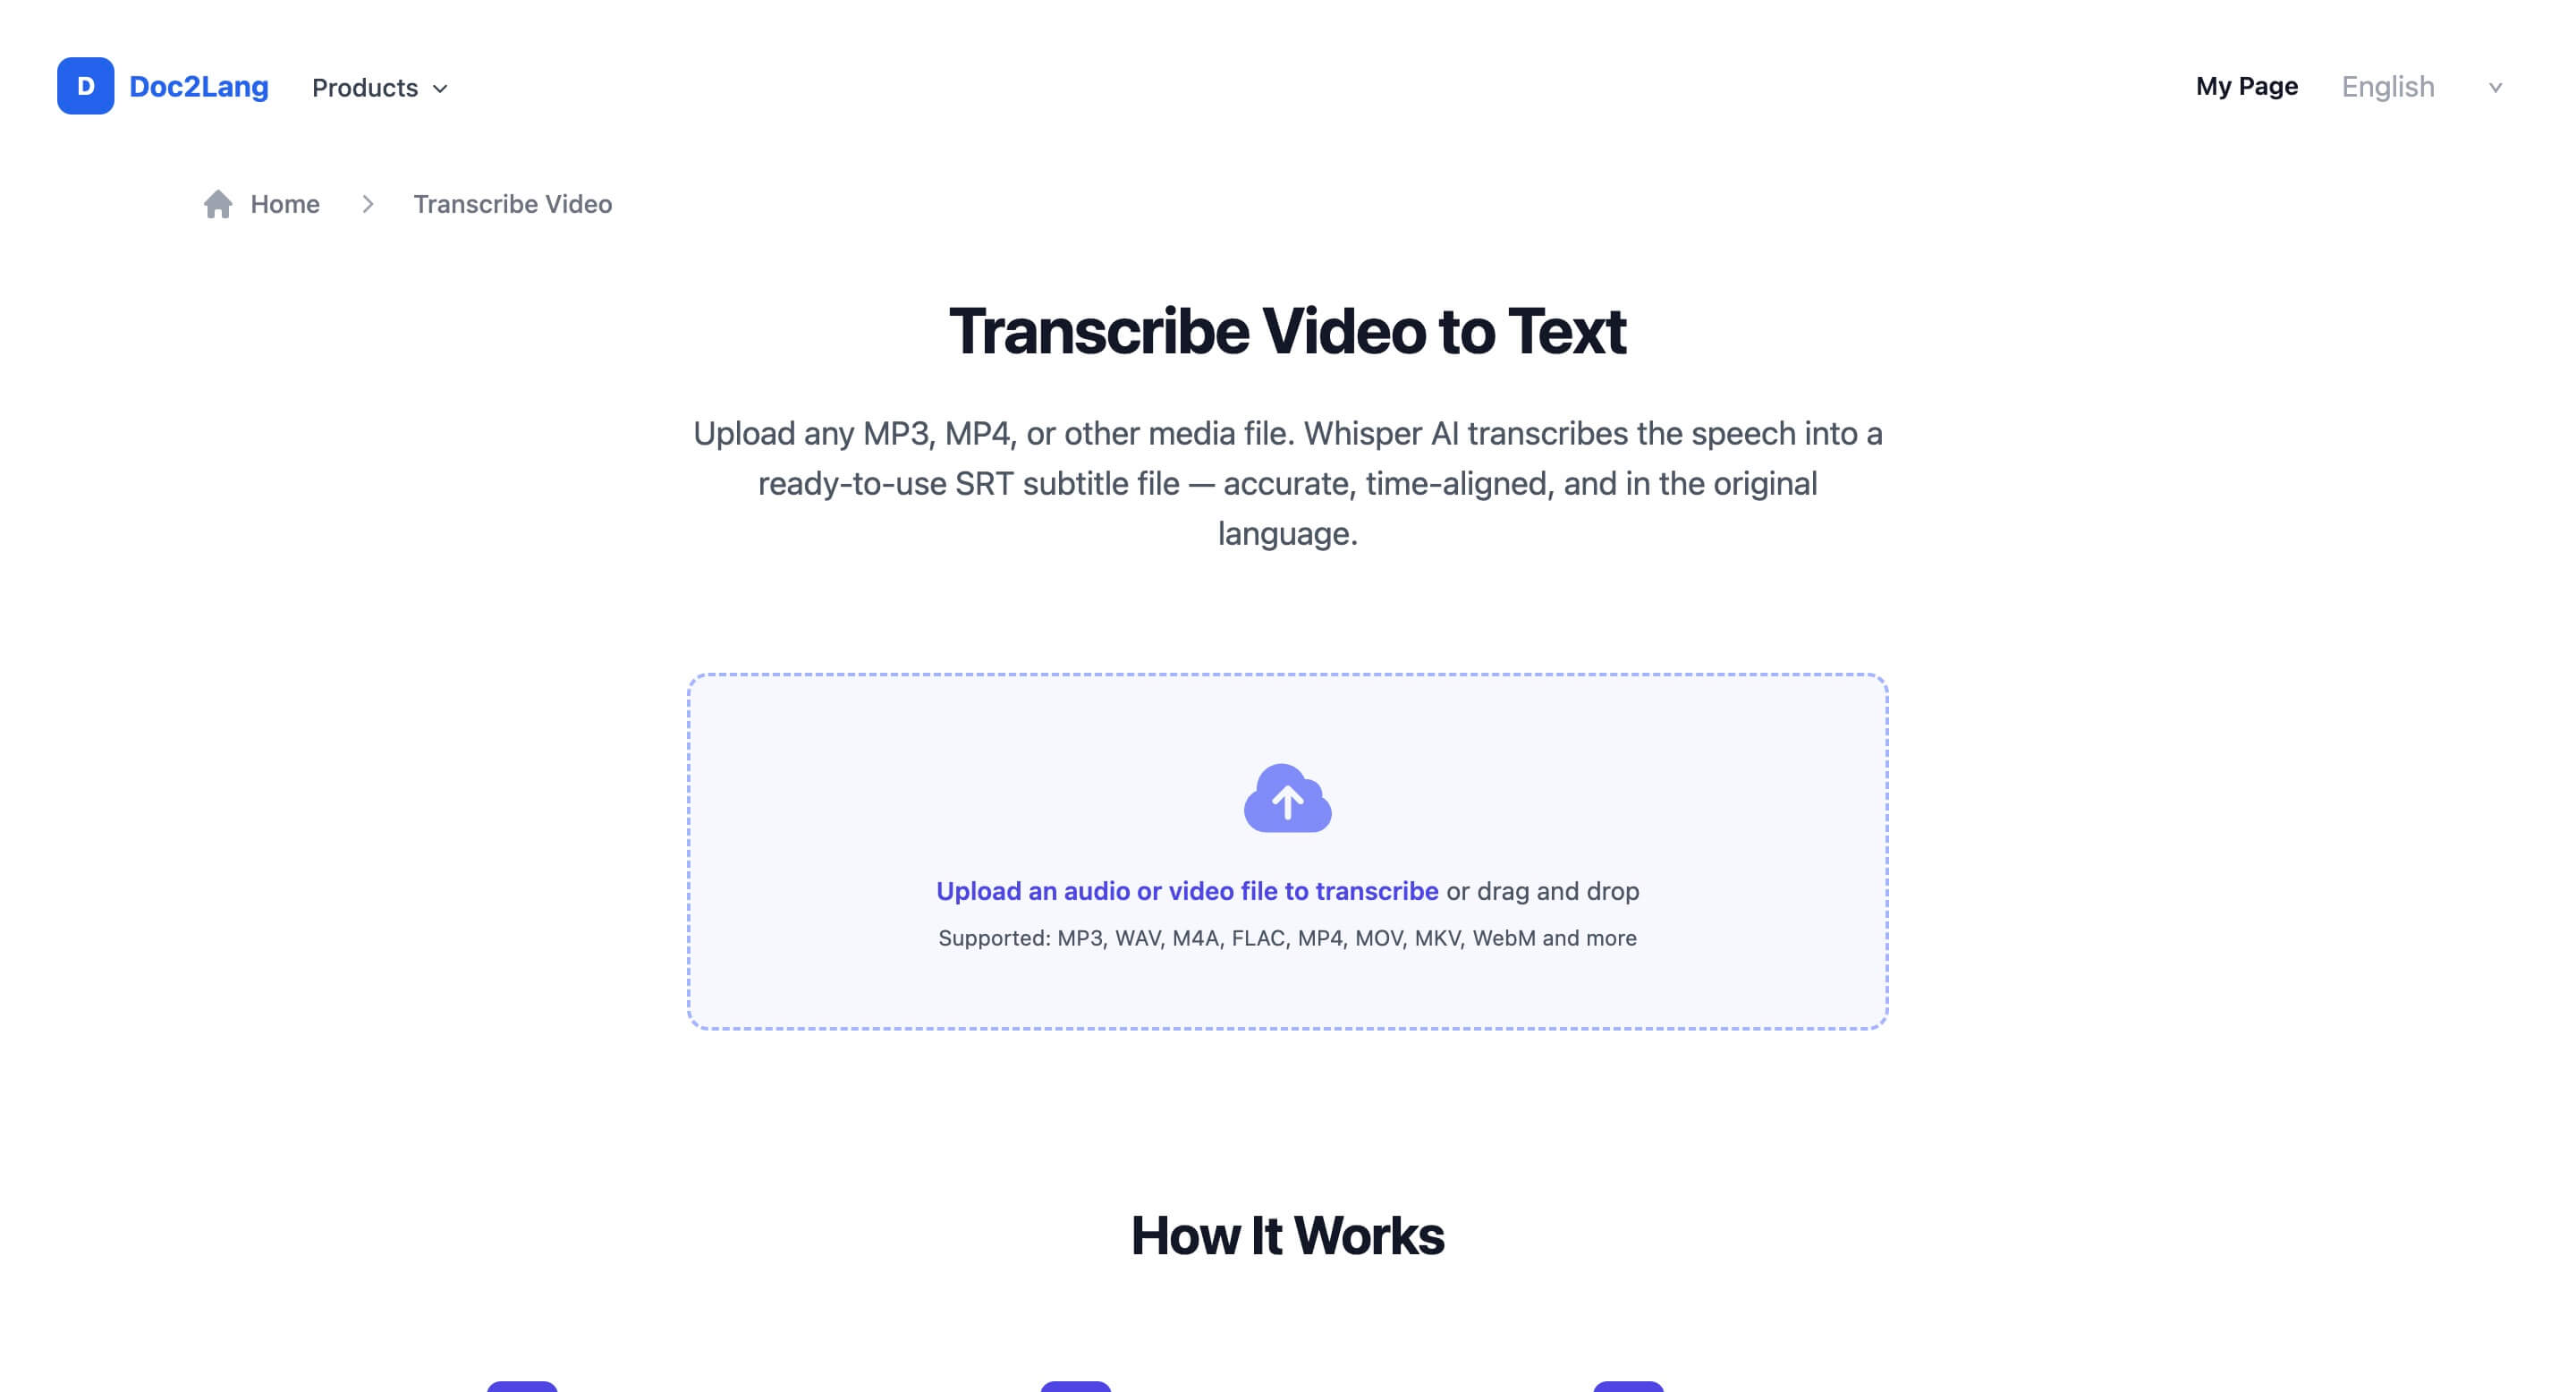
Upload an audio or video file to start transcription.
Upload your audio or video file
Click the upload area or drag and drop your file into the box.
There is no file size limit, but larger files will take longer to upload. For example, a 100 MB file typically takes 1–2 minutes to upload. Once the file is selected, Doc2Lang uploads it and prepares it for transcription.
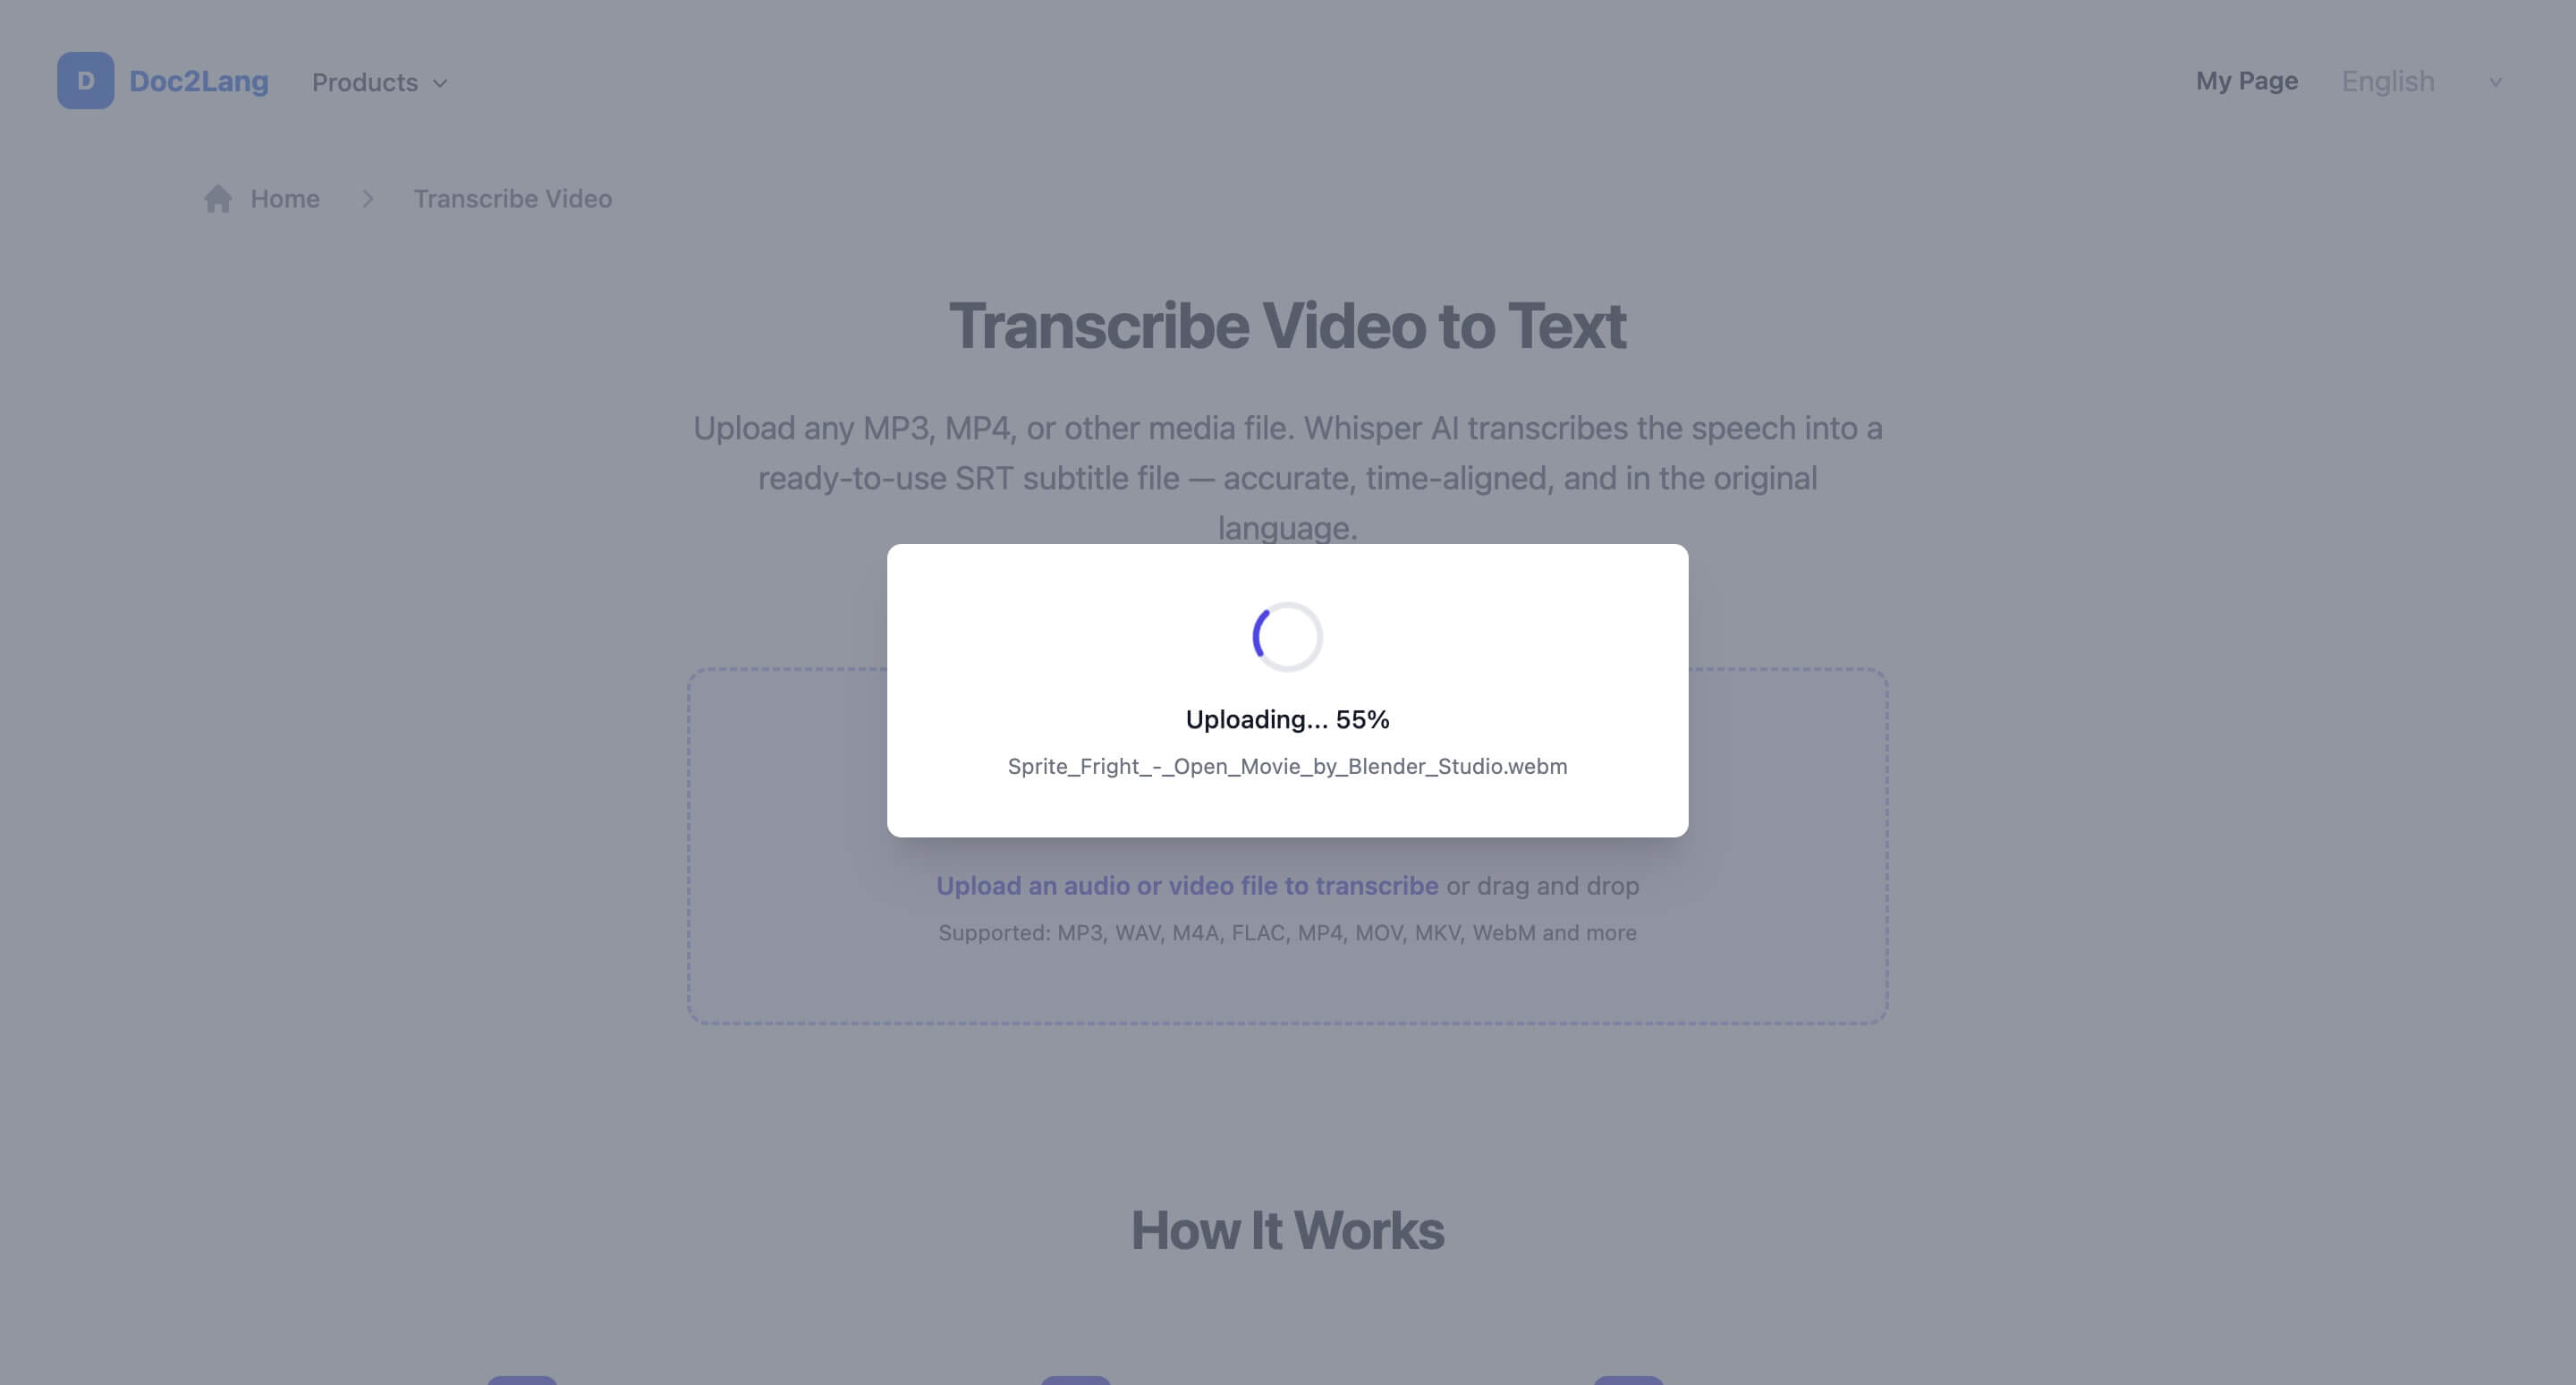
Doc2Lang uploads the selected file before transcription begins.
Wait for the transcription preview to load
After the upload is complete, Doc2Lang opens the transcription preview page and begins processing your media.
Processing time depends on file length and audio complexity. As a rough guide, a 10-minute video typically takes 1–2 minutes to process. Longer files or files with multiple speakers may take a bit more time.
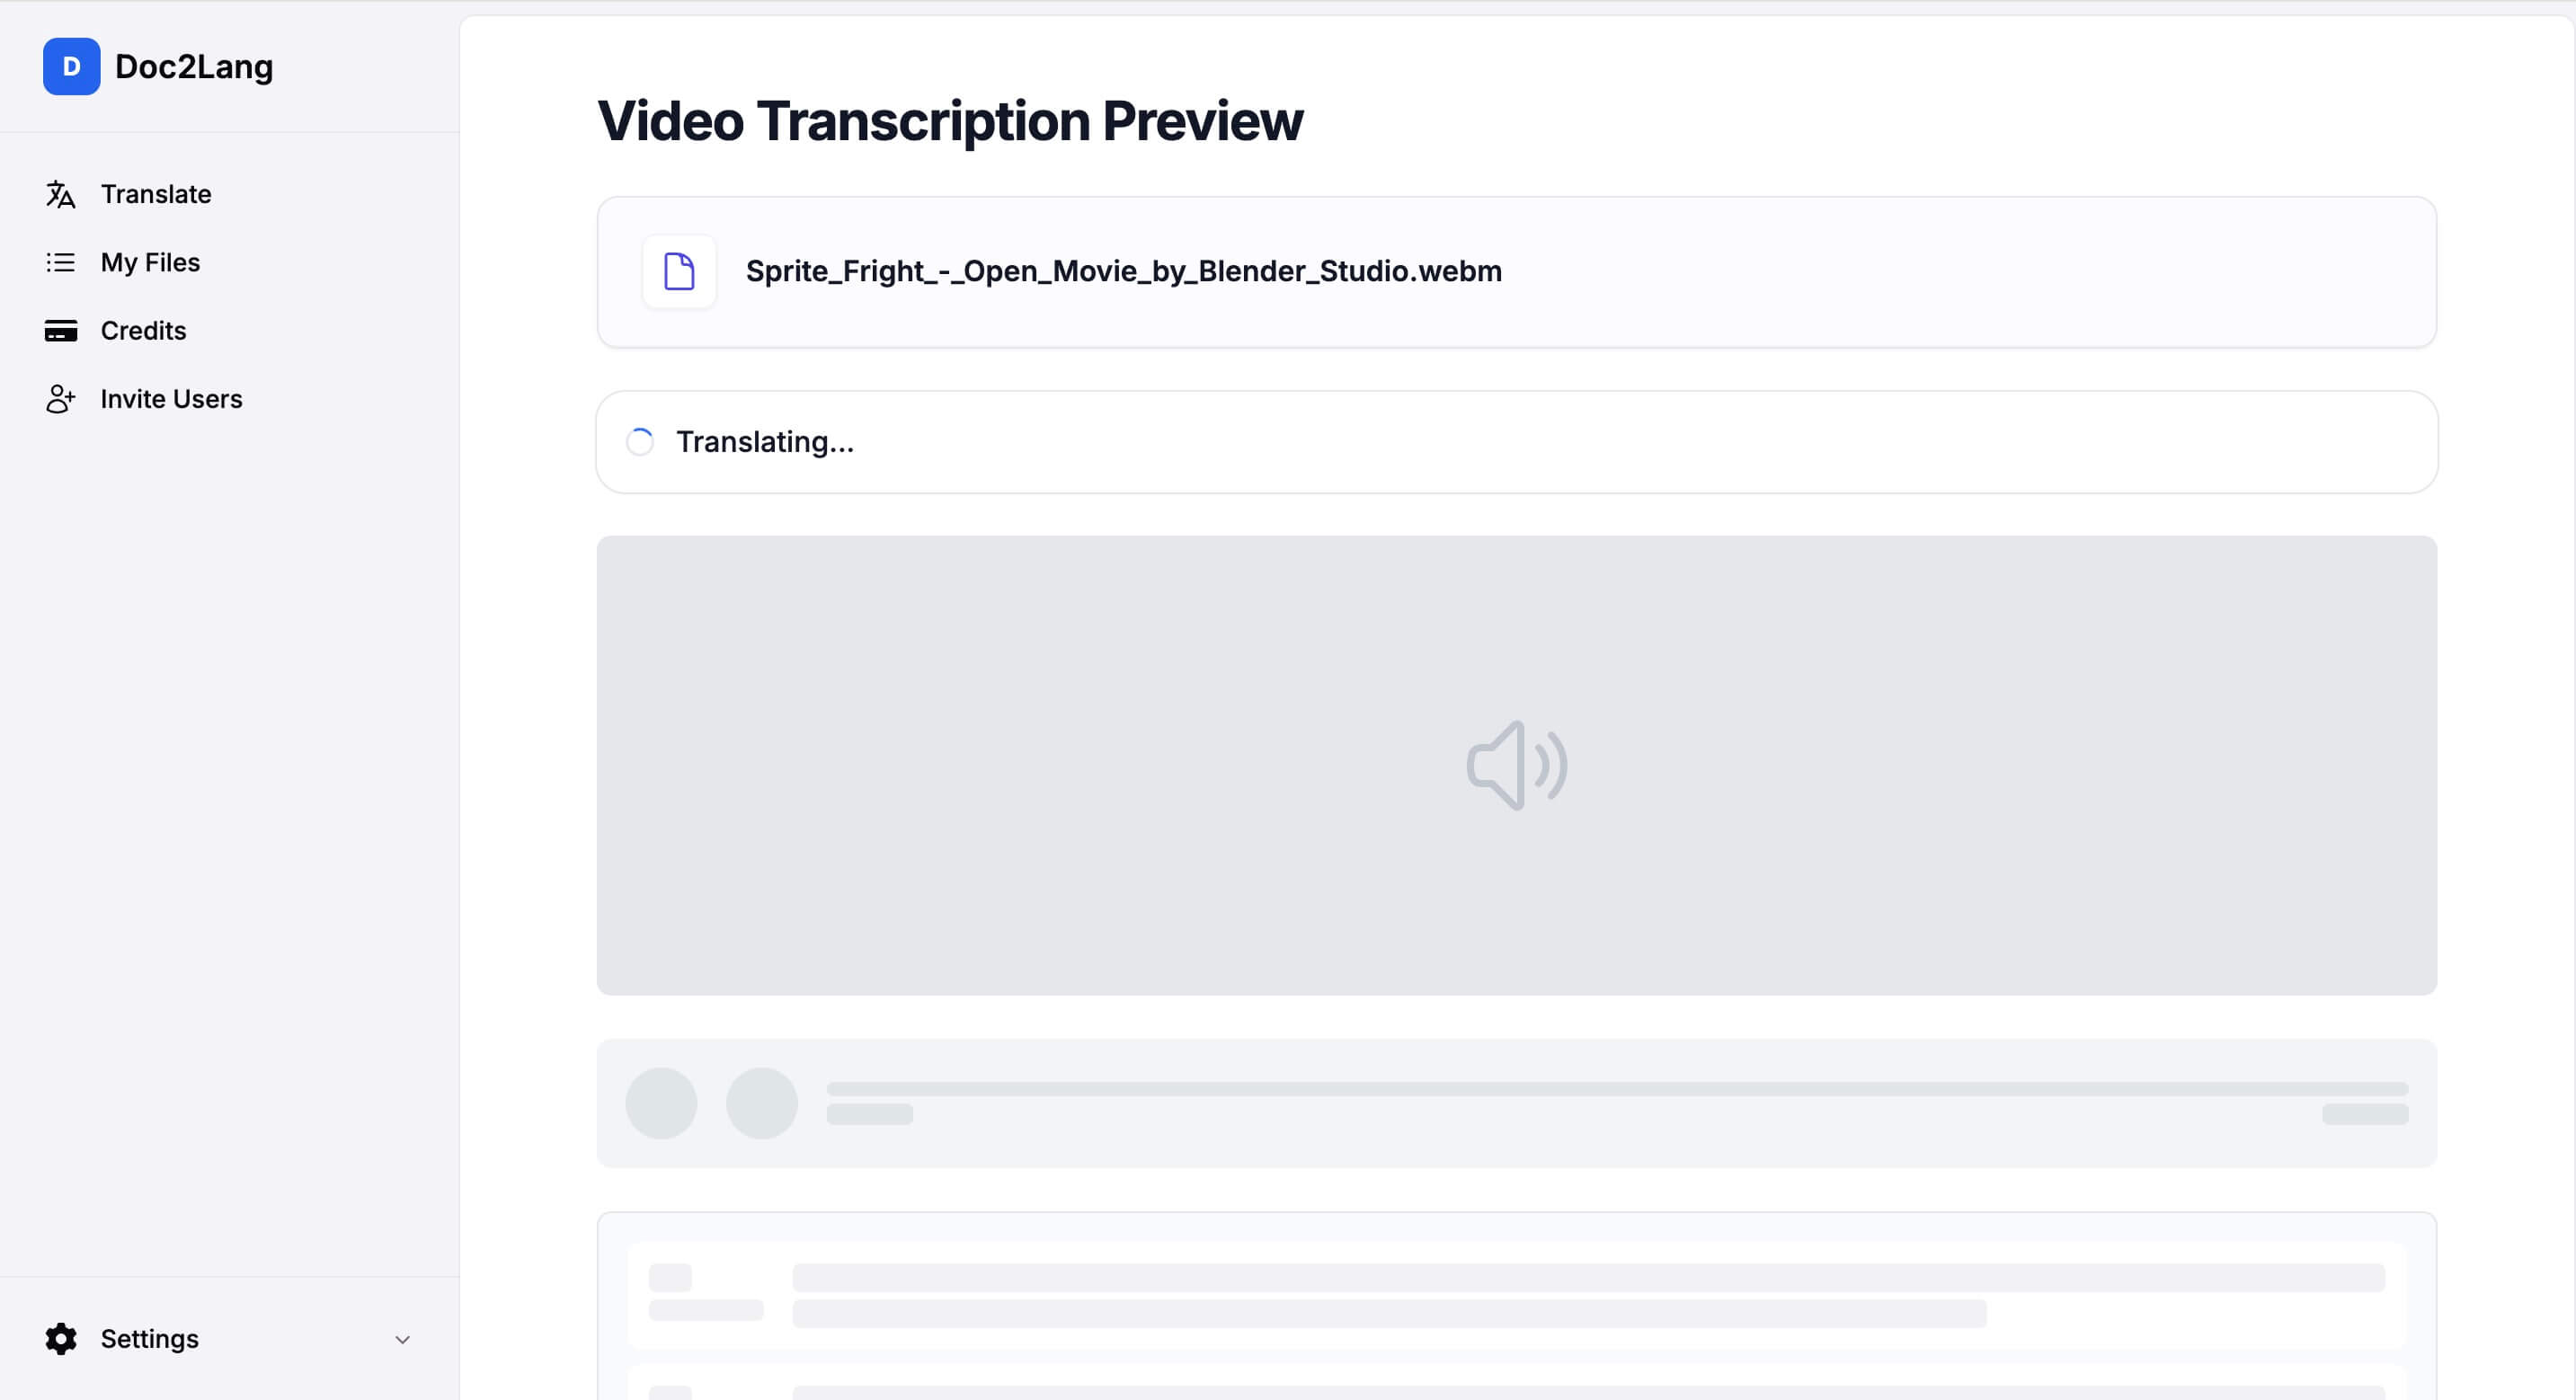
The transcription preview page appears while the subtitle content is still being generated.
Review the generated subtitles
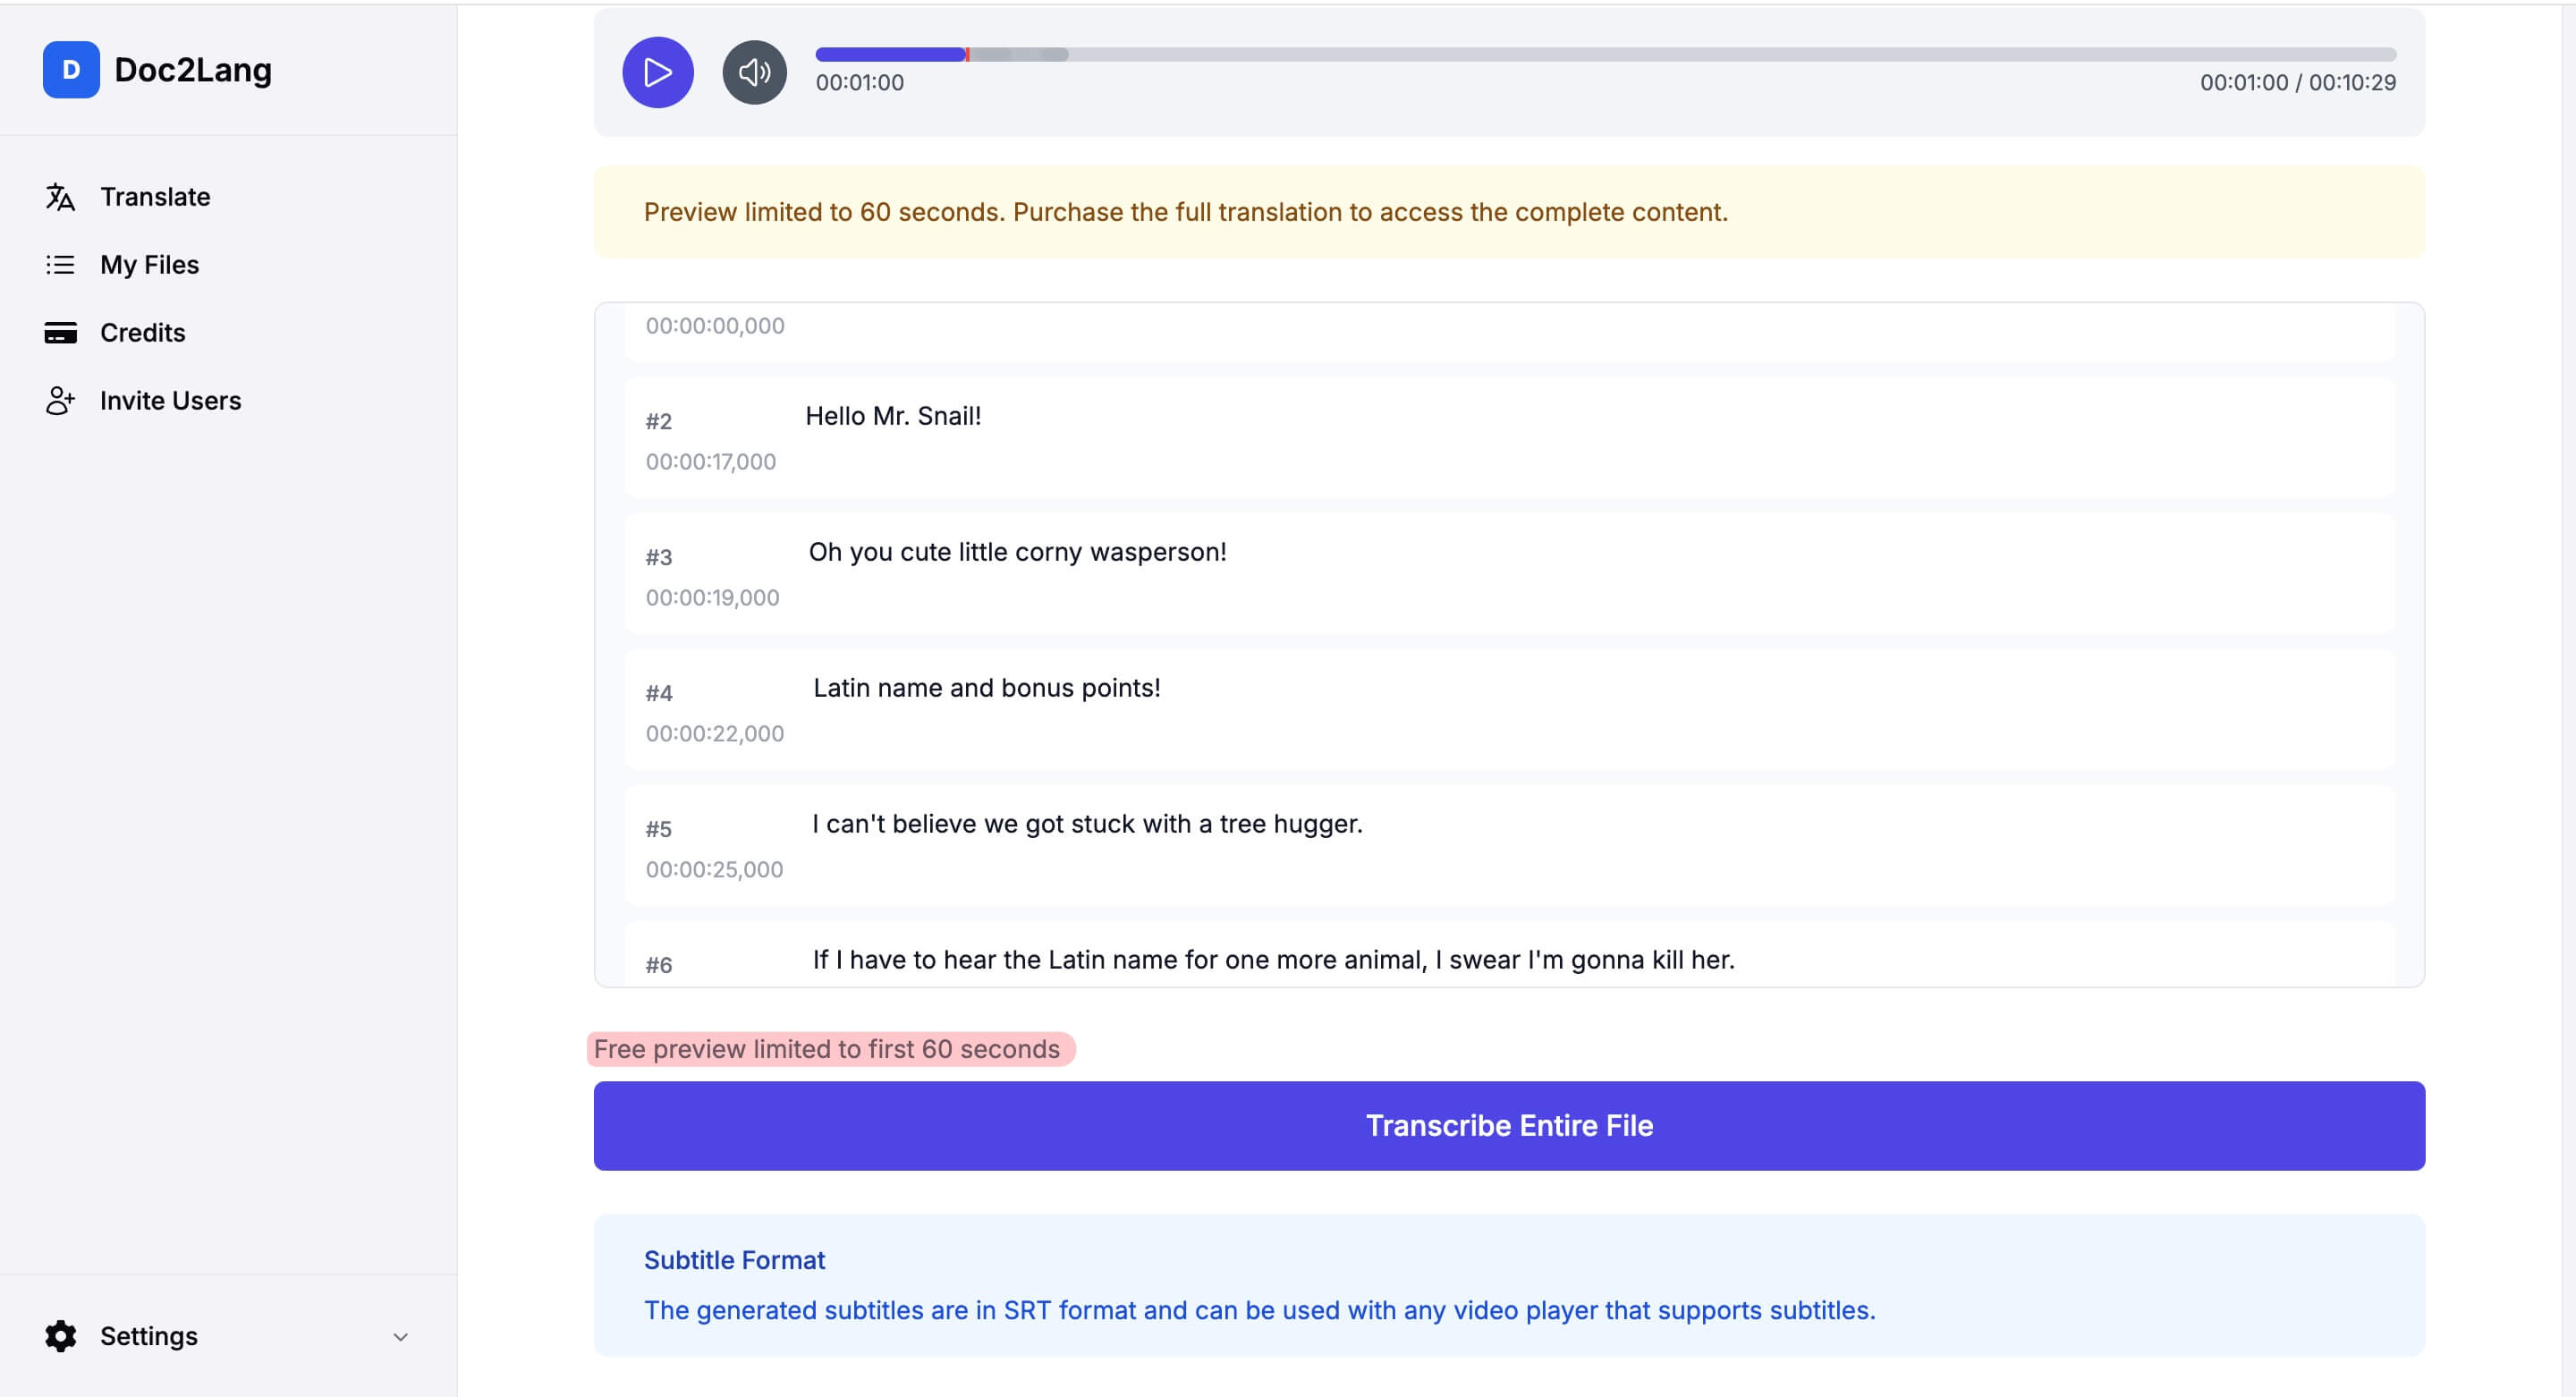
Once processing is complete, you can preview the video and review the generated subtitles line by line.
Doc2Lang automatically extracts spoken dialogue and aligns each subtitle segment to a timestamp. This makes it easy to:
- Follow the transcript alongside the video playback
- Check each subtitle block for accuracy
- Spot and correct any misrecognized words before exporting
Free preview: The free preview shows subtitles for the first 60 seconds of your file. This lets you check transcription quality before committing to the full file.
In this example, the subtitles are extracted from Blender Studio's Sprite Fright and displayed next to the playback preview.
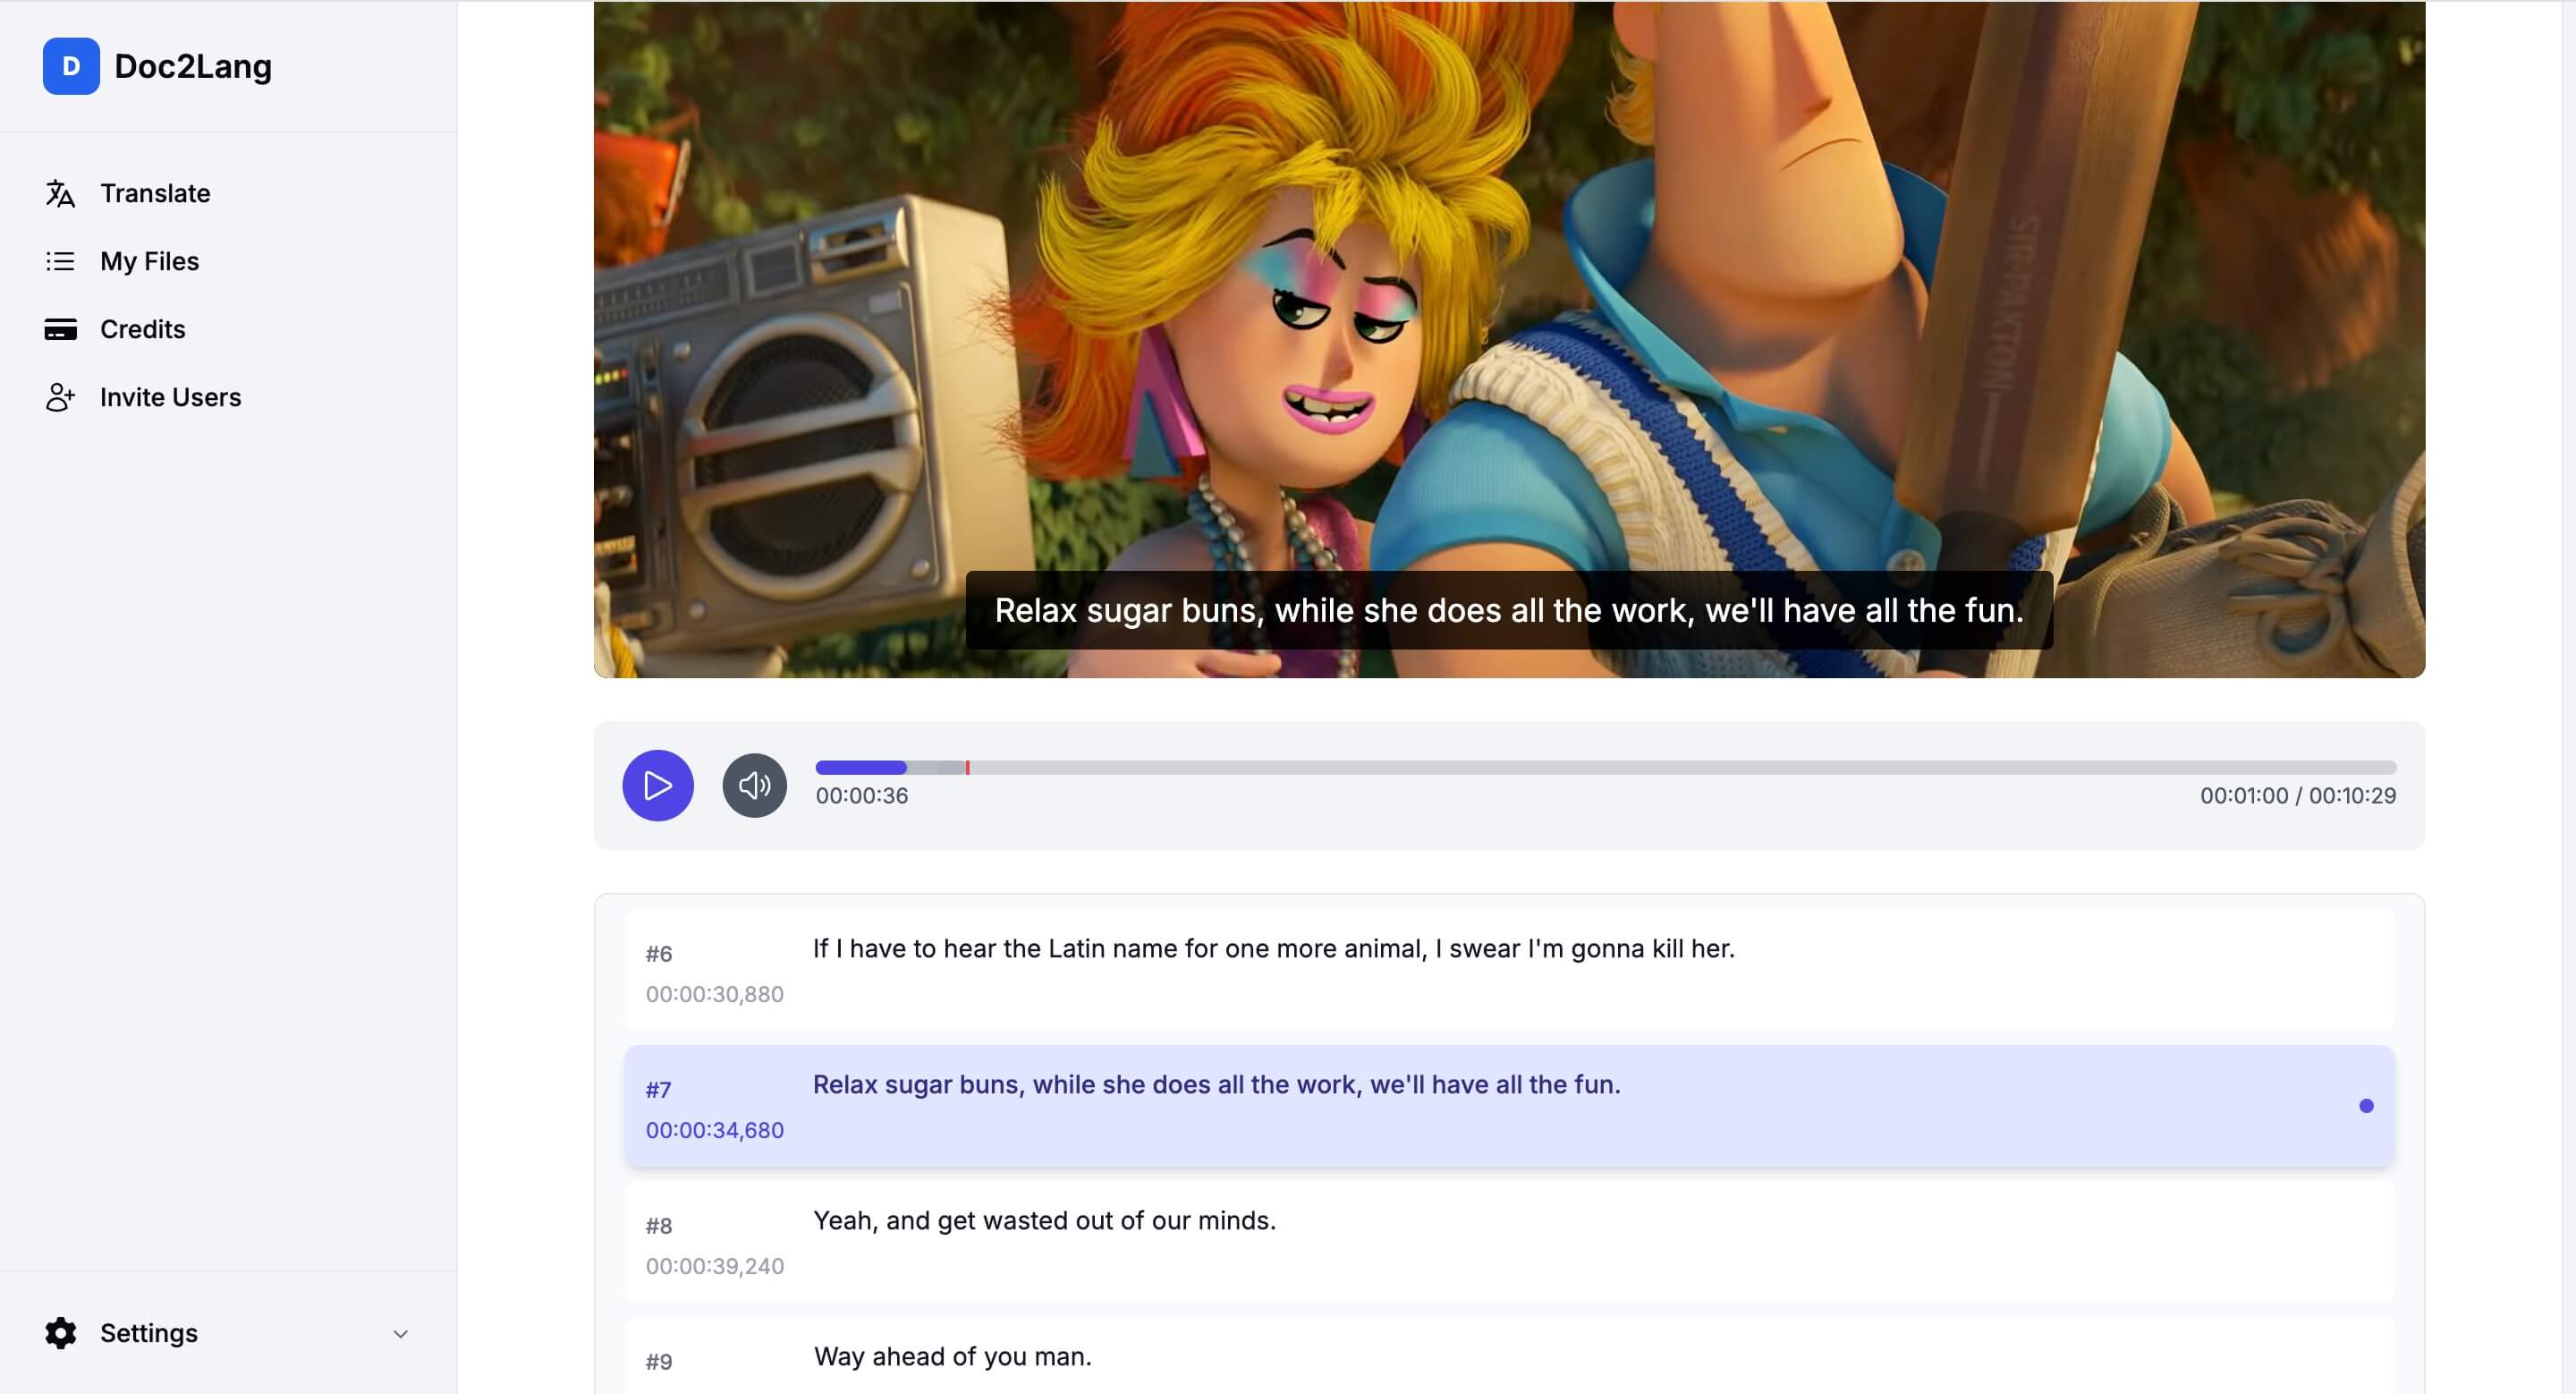
Each subtitle line is time-aligned. The free preview covers the first 60 seconds.
Unlock the full transcription
If you're happy with the preview quality, click Transcribe Entire File to process the rest of your media. You'll see a purchase dialog with two payment options:
Choose between paying with credits or paying directly.
Option 1: Pay with Credits (recommended)
Click Pay with Credits to use your account balance. This is the most cost-effective option, especially if you plan to transcribe multiple files — credits are cheaper per transcription than one-time payments, and you can top up your balance at any time from the Credits page in the sidebar.
If you don't have enough credits, you'll be prompted to purchase more before continuing.
Option 2: Pay Directly
Prefer a one-off payment? Click Pay Directly to pay for this single transcription without using credits. You'll be taken to a secure checkout page to complete the payment.
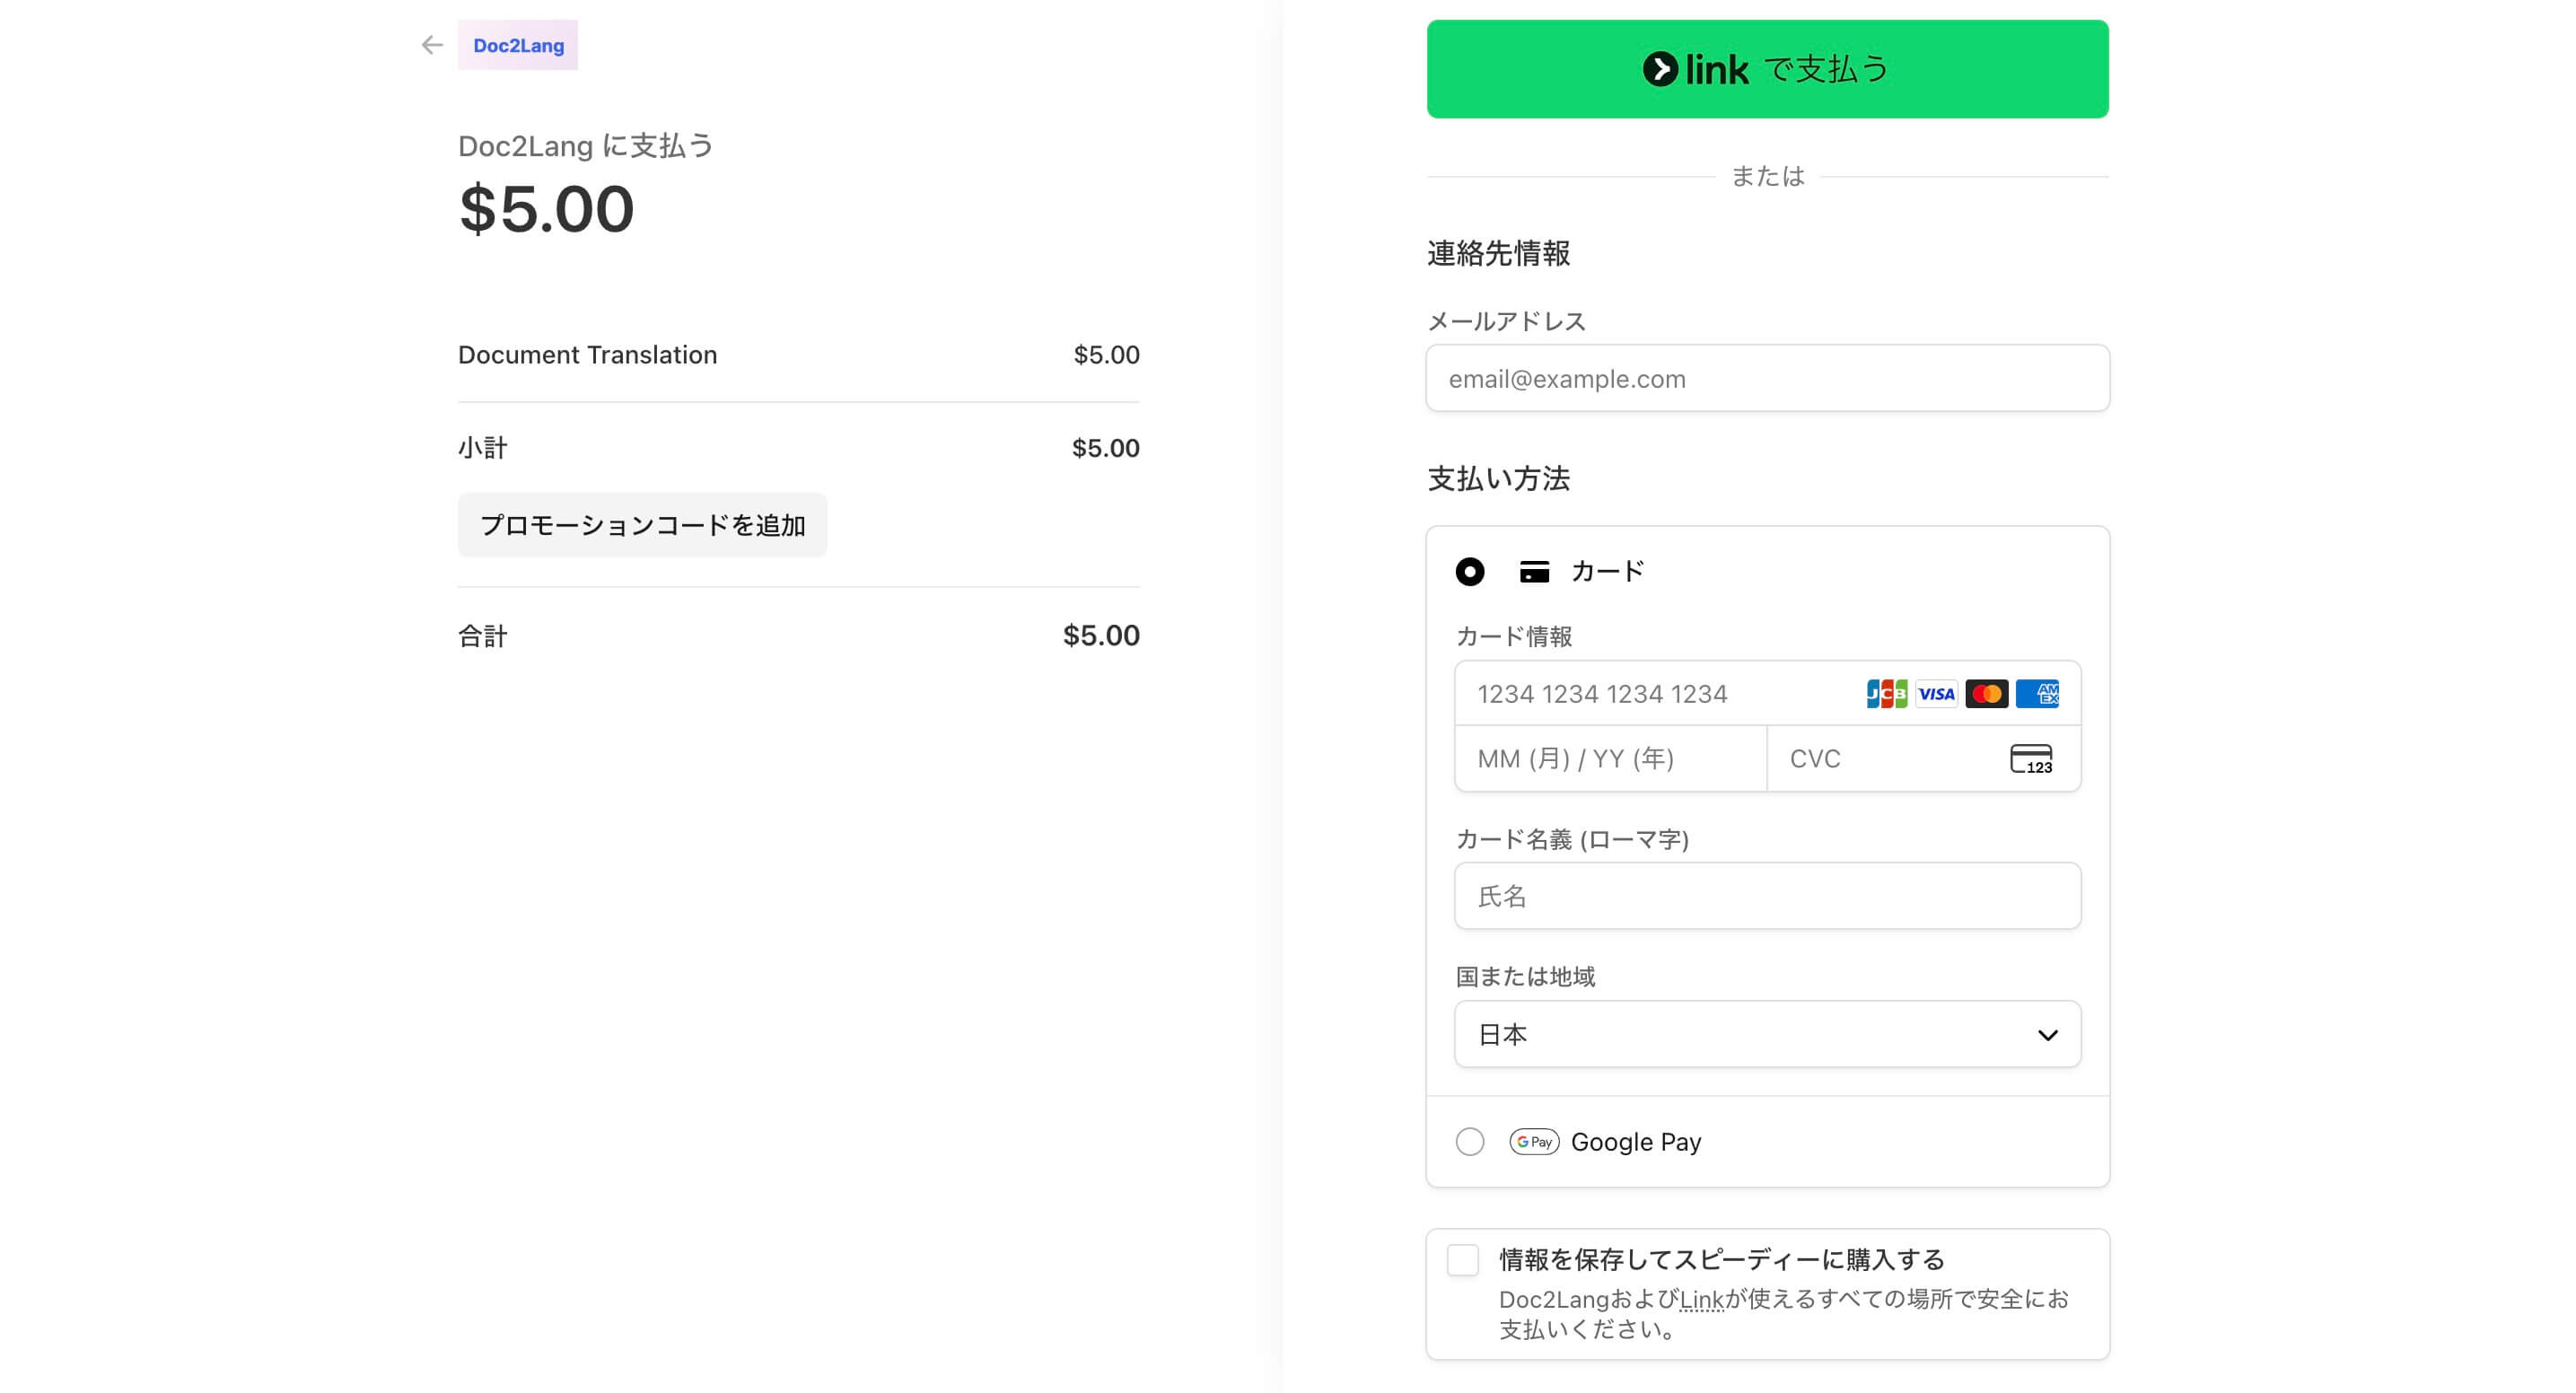
Payments are processed through Stripe's secure checkout.
Secure payment: All payments are processed by Stripe, one of the world's most trusted payment providers. Doc2Lang never sees or stores your card details — Stripe handles everything, and your payment information is protected by bank-level encryption and PCI-DSS compliance.
Once payment is confirmed, Doc2Lang processes the entire file and unlocks the complete transcription.
Download your subtitle file
When you're happy with the result, click the Download button to export your subtitle file.
Doc2Lang currently exports subtitles in SRT format, which works with most video players and editors (VLC, Premiere Pro, Final Cut Pro, DaVinci Resolve, and more).
Coming soon: Support for VTT (for web video and HTML5 players) and TXT (plain text without timestamps) is on the way.
What you can do with the transcription
After transcription, your time-aligned subtitle file is ready to use for:
- Creating subtitles in the original language
- Reviewing spoken dialogue and generating meeting or interview notes
- Preparing source text for translation into another language
- Editing subtitle timing in video editors
- Turning video or audio content into searchable text
Unlike plain text transcription, time-aligned subtitles are much easier to reuse in video workflows.
Tips for better transcription results
A few simple practices can significantly improve transcription accuracy:
- Use clear speech. Files with clean, well-recorded voices produce the best results.
- Minimize background noise. Reduce music, overlapping voices, and ambient sound when possible.
- Prefer mono audio with a 16 kHz or higher sample rate for speech-heavy content.
- Watch out for multi-speaker scenes. Accuracy may drop when several people speak at once.
- Review names and uncommon terms. Brand names, technical jargon, and proper nouns are the most common sources of errors — check them before exporting.
FAQs
Does this tool translate the subtitles into another language?
No — this page focuses on transcription, so the subtitles stay in the original language.
If you want to translate video subtitles into another language, you can use Doc2Lang's Video Translate or Subtitle Translate features.
Can I upload audio files as well as video files?
Yes. You can upload audio formats like MP3, WAV, M4A, and FLAC, as well as video formats like MP4, MOV, MKV, and WebM.
What kind of output does Doc2Lang generate?
Doc2Lang currently generates time-aligned subtitle files in SRT format, which can be reviewed, edited, and reused in most subtitle and video-editing workflows. Support for VTT and plain TXT output is planned for a future release.
Why is time alignment useful?
Because each subtitle line is matched to a timestamp, the transcript is easy to review, edit, and plug directly back into a video editor or player — no manual syncing required.
Can I upload any video I want to transcribe?
You can upload any video you have the rights to use. For this tutorial, we use a clip from Blender Studio's Sprite Fright, which is freely available under a Creative Commons license. When working with third-party content, please make sure you have permission from the copyright holder before uploading.
How much does it cost to transcribe a file?
The free preview (first 60 seconds) is always free so you can check quality before paying. To transcribe the full file, you can either pay with credits (the most cost-effective option, especially for multiple files) or pay directly for a one-off transcription. The exact price depends on the length of your file and is shown in the purchase dialog before you confirm.
Is paying on Doc2Lang safe?
Yes. All payments are handled by Stripe, a globally trusted payment provider used by millions of businesses. Your card details are never stored on Doc2Lang's servers — Stripe processes everything directly with bank-level encryption and is fully PCI-DSS compliant.
Why is there a 60-second preview limit?
The preview lets you verify transcription quality on your specific file — audio clarity, speaker accents, background noise — before committing to the full transcription. This way, you only pay when you're confident the output meets your needs.
What is shown in this guide?
This example uses a sample clip from Blender Studio's Sprite Fright to demonstrate how subtitles are extracted from a video file. You can download the same clip yourself to follow along — see the credit below.
Sample video: "Sprite Fright" © Blender Foundation | studio.blender.org | Licensed under CC BY 4.0
Ready to transcribe your video?
Upload your video or audio file and get time-aligned subtitles in minutes.